

What a Roof Restoration Actually Involves, Stage by Stage, And What Should Never Be Skipped

- August 21st, 2026
- Categories: Uncategorized
The term ‘roof restoration’ is thrown around a lot by professionals, and it seems to mean different things from one company to the next. For some tradespeople it is a full re-bed and re-point of the ridge capping. For others it’s nothing more than a pressure clean and a fresh coat of paint. Neither is exactly wrong, but the gap between the two is what confuses a lot of homeowners, with some paying more and getting less.
A genuine roof restoration, performed by New Ridge Roofing, is a staged process. It starts with a comprehensive roof inspection, moves through cleaning and re-bedding, then finishes with a stunning paint job. Skip a stage, or miss a step, and you won’t have a complete roof restoration, even though it may look like a new roof.
This guide breaks down what should happen at each stage of a proper restoration, and which parts homeowners should never let a contractor cut corners on.
If you’re not sure whether your roof needs a full restoration or just a few targeted repairs, it’s worth getting a second opinion before committing to either. New Ridge Roofing has been restoring roofs across Melbourne’s south east, from Frankston and Berwick to Mornington and the Mount Eliza coast, for over 35 years. Get in touch with the team for a free, no-obligation assessment.
Stage 1: Roof Inspection and Assessment
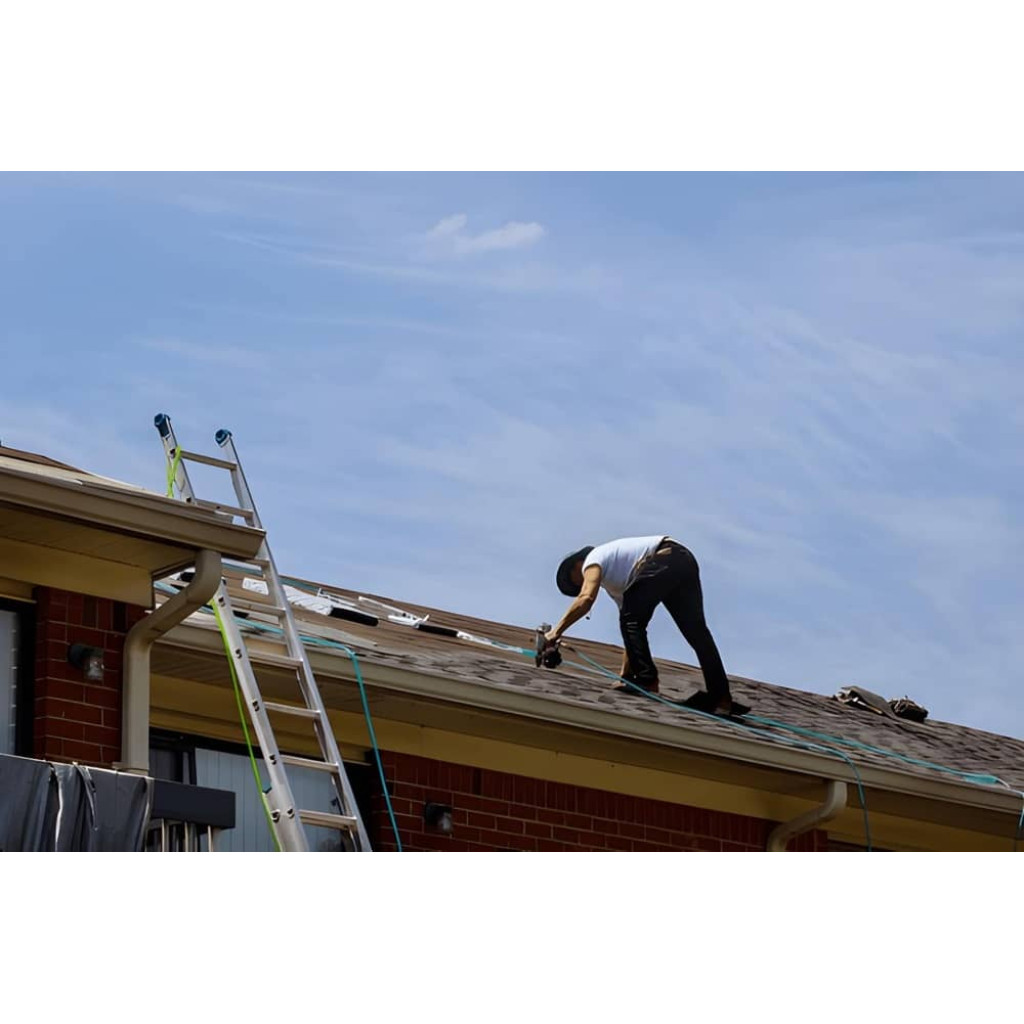
Step 1 of your full roof restoration begins with an assessment of your Melbourne roof. This is a complete physical check of your roof, and a structural evaluation, getting inside your roof to make sure the support beams are still doing their job. We use this inspection to identify damage, leaks, and wear and tear, so we know exactly where roof repairs are needed before any restoration work begins.
What the Inspection Covers
- Roof Surface: Checking tiles or metal sheets for cracks, chips, rust, or displacement.
- Ridge Capping: Inspecting the mortar and pointing condition along the ridge lines.
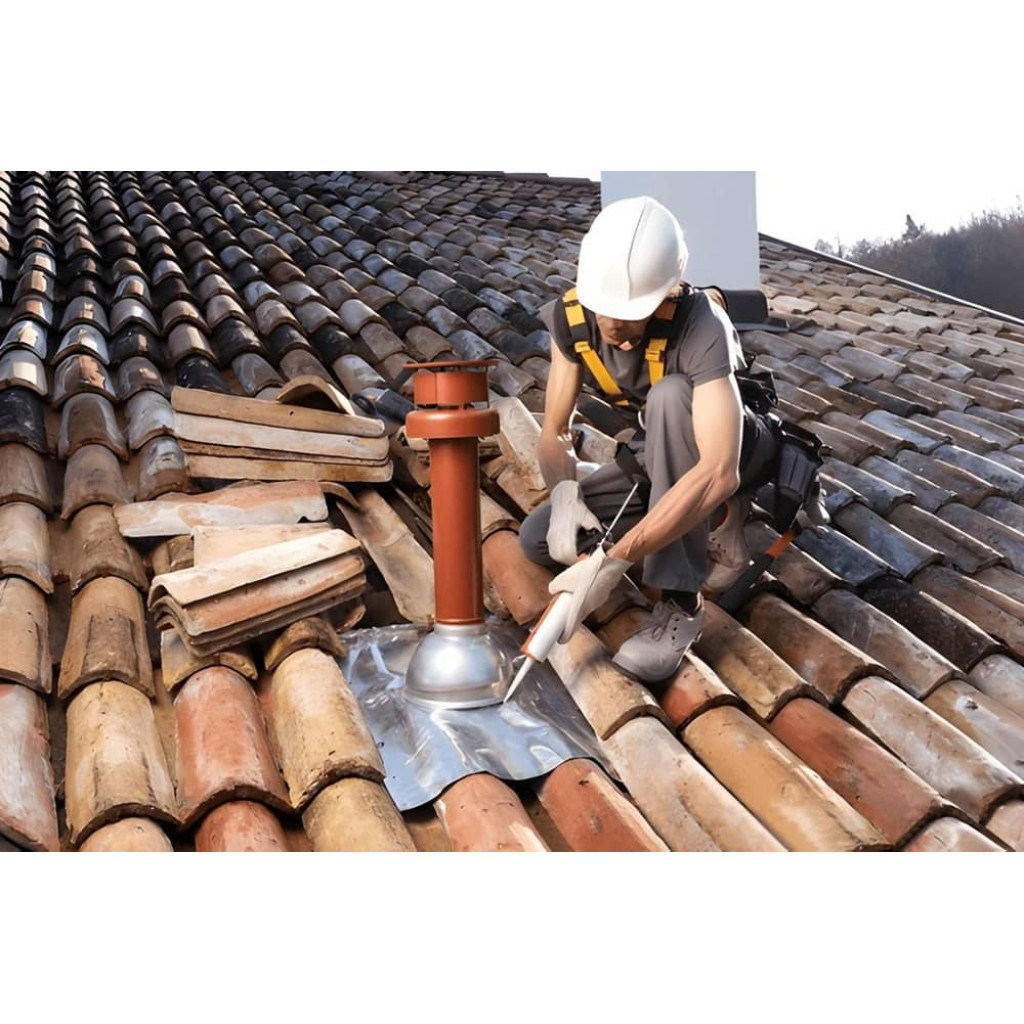
- Valleys and Flashings: Looking for rust holes or failing seals around pipes, vents, and chimneys.
- Gutters and Drainage: Assessing downpipes, blockages, and sagging sections.
- Roof Cavity: Checking from the inside (if accessible) for daylight, sagging sarking, or water stains
Stage 2: High-Pressure Cleaning
The second stage is a high-pressure clean. This helps strip away years of moss, lichen and algae. It also removes flaking paint, ready for the new paint job at the end.
Key Steps in the High-Pressure Cleaning Process
- Site Preparation: Disconnecting downpipes to prevent toxic sludge and organic debris from entering rainwater tanks or clogging stormwater drains.
- Full Systematic Wash: We methodically spray from the ridge down to the eaves, maintaining a safe nozzle angle to prevent water from being forced under tile overlaps.
- Post-Wash Clean-up: Flushing gutters and rinsing down exterior walls, windows, paths, and surrounding landscaping affected by the runoff, to clean away chemicals and residue.
Stage 3: Repairs

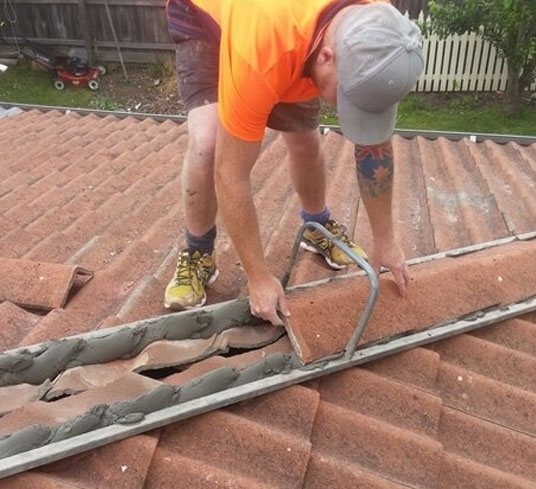
This third stage is the real bones of the operation. This is where our workers replace cracked or broken tiles with as close a colour match as possible. They re-bed unstable ridge caps with a fresh sand-and-mortar base, then apply a flexible pointing seal to prevent any leaks going forward.
Tile Replacement and Realignment
- Identify and pull out any cracked, chipped, or structurally compromised roof tiles.
- Swap missing or broken units with matching concrete or terracotta tiles.
- Re-align slipped or crooked field tiles so they interlock correctly and shed water safely.
Roof Re-Bedding
- Lift loose or rocking ridge capping tiles off their peaks and hips.
- Chisel away and completely clear out all old, crumbling, or degraded mortar bedding.
- Lay down a fresh, stable foundation of sand and cement mortar to securely re-seat the ridge caps.
Flexible Pointing Application
- Clean and brush down the edges of the newly set ridge caps and surrounding tile surfaces.
- Apply a modern polymer-based flexible pointing compound over the hardened bedding layer.
- Tool the smooth finish to create a watertight seal that expands and contracts naturally with seasonal temperature changes without cracking.
Stage 4: Priming and Sealing
Stage 4 of this restoration process is applying a special primer or sealer built to handle Melbourne’s shifting weather, to the newly cleaned and repaired surfaces. This penetrates the porous roof tiles or the etched surfaces of roofing metal. It locks down dust, blocks salt or colour leaching, and creates a secure gripping bond for the final, protective topcoat.
What the Priming and Sealing Stage Achieves
- Deep Penetration: Soaks right into the tile, giving it a stronger, more solid base to work from.
- Enhanced Adhesion: Gives the topcoat something solid to grip onto, so it stays put instead of peeling down the track.
- Surface Uniformity: Evens out every little pit and pore in the tile, so the paint goes on smooth and consistent.
- Stain and Salt Blocking: Stops old salt deposits and faded colour from bleeding through your fresh paint job.
Material-Specific Application Details
- Concrete and Terracotta Tiles: Uses a high-build or penetrating sealer to lock down the chalky, porous tile face.
- Metal Roofs (Colorbond / Corrugated): We use a specialised anti-rust primer that grips onto smooth steel properly, so the coating doesn’t lift.
- Application Method: Application Method: We spray it on with a high-pressure machine, then get in with a brush for the tight corners and tile edges, so nothing gets missed.
Stage 5: Roof Painting/Coating
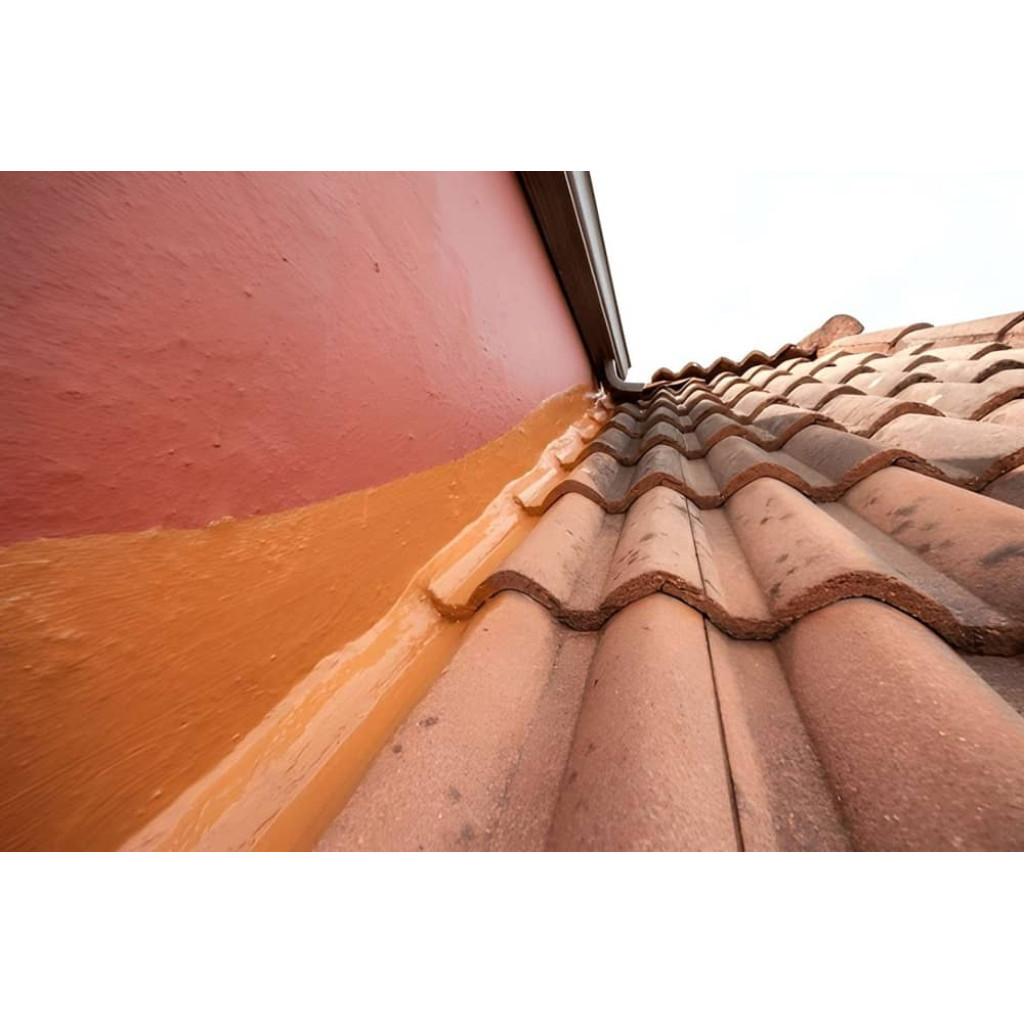
Stage 5 is the painting. This is more than cosmetic. It’s a protective coating that shields your roof from the elements. A primer and sealer are first applied, followed by two coloured topcoats. Not only does this protect from the elements such as UV and moisture, but it also brings your roof to life.

The Coating Process and Application Steps
- Surface Check & Drying: Ensuring the previously cleaned and repaired substrate is completely dry before application.
- Primer / Sealer Layer: A clear or pigmented penetrating sealer is applied to bind residual dust, seal porous tile or metal surfaces, and create an adhesive bond for topcoats.
- First Topcoat (Colour Membrane): A thick acrylic coat goes on to build a solid, weatherproof barrier that’ll stand up to whatever Melbourne throws at it.
- Second Topcoat: A final finishing coat rich in UV-stabilising pigments is applied to secure long-term colour fastness, gloss retention, and protection against harsh elements.
Why Stage 5 Matters
- Waterproofing: Seals tiny micro-cracks and porous zones to stop water absorption.
- UV Defense: Reflects intense solar radiation, preventing structural degradation and lowering indoor heat transfer.
- Longevity: Done properly, this adds another 10 to 15 years (or more) to your roof’s life.
What Should Never Be Skipped
None of the above steps, really, should be skipped if you want a roof restoration (rather than a quick set of roof repairs) that’s ready to keep your home safe for years to come. However, if we had to make a call, this is what we would advise:
- Pre-Coating Repairs: Never paint or coat over active leaks, rusted fasteners, or loose ridge caps; coatings conceal damage rather than fix it.
- Old Mortar Removal: Never point fresh flexible compound directly over crumbling, ancient bedding mortar without re-bedding first, or the ridge caps will detach during high winds.
- Thorough Washing: Never skip the deep pressure clean, as dirt or mould residue prevents the sealer and paint membranes from bonding correctly.
- Comprehensive Inspection: If you are local to the Melbourne area, pre-work assessment is critical to match the right restorative approach to your specific tile or metal roof.
A proper and thorough roof restoration is more than a clean and paint job. It is a process you step through that addresses the roof capping, the bedding, and more. If you cut corners on re-bedding or save money on tile replacement, it may save you a few days now, but down the track it will cost more time and money to repair a job that was only half-finished.
If your roof is still structurally sound and just needs some targeted fixes, roof repairs may be all that’s required. But if it’s showing its age across the board, a full roof restoration will get more value out of the same roof for years to come. Either way, get in touch and the team can take a look and help you work out which one you actually need.
Frequently Asked Questions
What areas does New Ridge Roofing service?
They cover Melbourne’s south east suburbs, from Chelsea and Frankston through to Cranbourne, Mornington, Berwick, and the Mornington Peninsula.
Is New Ridge Roofing’s work guaranteed?
Yes, their workmanship is backed by a 12-year guarantee.
Can New Ridge Roofing restore terracotta tile roofs?
Yes, they work on both older and newly installed terracotta roofs, including repairs, re-bedding, pointing, cleaning, and full restorations, in colours ranging from natural red and terracotta brown through to charcoal and ironstone.
Does roof restoration include Colorbond roofs?
Yes, alongside tiled roof restorations, they also offer Colorbond roofing recoats and repairs.
Why does roof ventilation matter during a restoration?
Poor airflow traps heat and moisture in the roof cavity, which can lead to mould, warping, and a shortened lifespan for roofing materials. New Ridge Roofing installs and maintains ventilation systems as part of their restoration work.
How long has New Ridge Roofing been operating?
They’re a family-operated business with over 35 years of experience in the roofing industry.
How do I get a quote for a roof restoration in Melbourne?
You can call New Ridge Roofing directly or fill out the enquiry form on their contact page for a free, no-obligation quote.